|
VMRJ Getting creative with your cameras
I guess there are lots of folks out there who would like to be able to direct a movie or television program. There is a special enjoyment you can get from being able to give commands to cameramen and see your creation take life on the screen. If you think you would like to be a Director, you can enjoy this experience right now in Trainz. When you run your train, there are a number of types of views that can be chosen. You can choose a view from the interior of the locomotive cab where you can look out and see the scenery pass by, you can choose a view from the exterior of the train that you can adjust as the train moves along, you can choose the tracking cameras and let your cameramen take the shots that you previously had set up and finally you can choose the free roaming camera option where your camera can be moved to any spot on your route. It is in the use of the tracking cameras where you will have the chance to be really creative, but you will need to set up the shots when you are in Surveyor. This option is labeled Tracking Cameras and is found in the tools menu of Surveyor. If you are creating a route that will be used by others, and if you set up your camera shots in surveyor, you will be able to give your route your own creative touch. You can also increase you own enjoyment as you operate your route even if you do not plan to distribute it to others. Since you can use the tracking camera option to treat your cameras just the way you would treat real cameramen, here are the basic camera commands that directors can use and the corresponding keyboard keys in Trainz:
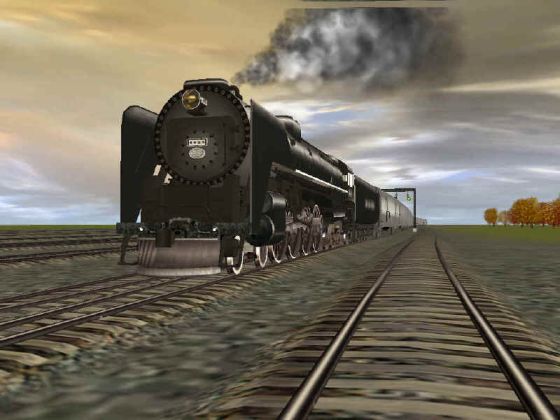
In a television program, if the director wanted the cameraman to move the camera to the right of the studio floor, he would say for example, �Camera 3, truck right so I can get an over-the-shoulder shot of the guest.� The cameraman would move the camera to the right as directed. Now that the camera is in position, he could say �OK, camera 3, zoom into the guest.� The cameraman would zoom in on the guest, giving a close-up, and the director would take the shot. Are you ready to direct? OK, let�s go�. �Three, two, one, action!� In the following example, I have decided that I want to set up my tracking camera so that when it tracks my train, the farm scene will be in the foreground and the train will pass behind the farm in the background. 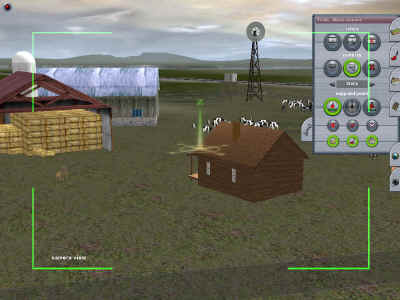
Setting field of view. In the tools menu, I choose cameras by clicking on the camera choice, and on the screen a field of view indicator is generated. Everything that is inside the green rectangle markers will be in the shot. I will use the camera lens and camera position commands to frame the picture I want. Once I am satisfied with the shot I will give a second click to the camera button and that will lock in my choice. Pulling back from the scene, I can see the camera position. The camera image is green, indicating I have chosen the tracking option. This means the camera will track the train as it passes through the scene. If the image of the camera was red, it would indicate that I have chosen the fixed camera option. This would mean the camera would not track the train as it passes through the scene, but would remain locked in position as the train passes by. 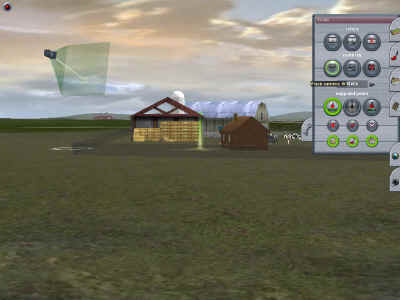
Camera position. The following picture shows the completed scene as the tracking camera follows the train across the screen. 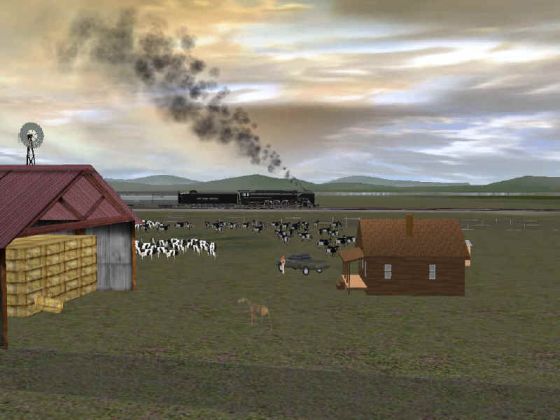
Final scene. Once you have set up all of your tracking camera positions along your route, you will be able to use the scenes you have created by choosing the tracking camera option when you drive the route. If you choose the tracking camera option, when a tracking camera is in range of your train, it will be selected automatically. If it is out of range, the exterior train picture will be selected. There are many ways you can use the cameras at your disposal, and both tracking and fixed cameras can have their uses. Just to give you some food for thought, here are a few of the ways I have used the tracking cameras when I created my own scenes. I once used the fixed camera option to set up a scene at a railroad crossing. In the scene I had a small car on the side of the road that was disabled. The police car was behind and the officer was talking to the woman. In back of them was the road and crossing gate. In action, you would see them in the foreground while the crossing gates came down, the other cars stopped, and the train passed by behind them. Once the train had finished passing by, the gates went back up and the camera returned to the external view of the moving train. I have used both tracking and fixed cameras on station platforms to add life to station scenes, being sure to have lots of people on the platforms for the camera to see. In one scene the camera was located on the middle station platform. The camera tracked the train coming through the station, then panned through the crowd as the express train passed by at high speed. Using fixed cameras at tunnel entrances and exits has added a nice visual effect to the image of trains entering and leaving tunnels. I would set the camera away from the entrance with a shot wide enough to establish the tunnel and hill. With the fixed setting, the shot would hold until the last car entered the tunnel. I have used the tracking camera low to the ground and close to the track to give more impact to a passing train. On the other hand I have used a wide shot to give the scenery more impact as a train runs through it, even using the high pedestal shot to look down on a train as it snaked its way through a valley. What is so great about all of this is that the choices you have are just about limitless and you can really have lots of fun creating your own scene. There also have been times when my shots didn�t work out as planned and I had to do them differently. Once I had placed a camera beside a track that was running over a tunnel. Unfortunately when there was a train in the tunnel, the tracking camera above the tunnel tried to track the train moving underground. This gave a great view of empty ground because the camera couldn�t see through dirt! A few times I placed cameras too close together causing a jumpy picture as the cameras took control from each other. This also has resulted in a camera next to a valley track trying to track a train on the mountain track, just because the mountain track was just within range of the valley camera. The result was a picture of smoke, and ONLY smoke, from behind the mountain ridge as the train passed by overhead. Interesting, but not a great shot! Once I had two cameras that were close together on opposite sides of the track. When the train passed through this caused a reverse angle to the shots making the train look like it had changed direction. I once knew of a director who did this while covering a horse race with disastrous results! The nice thing is that you don�t have to be concerned about errors. TRS2004 makes it easy to switch between surveyor and driver modes. You can set up your shot in Surveyor, run the scene and then go back to Surveyor to make camera adjustments if needed. Once you have all of your scenes set up, just sit back and enjoy the movie! John
Article and screen shots �2004 John D'Angelo. All rights reserved. |
|||||||||||||||||||||||||||||